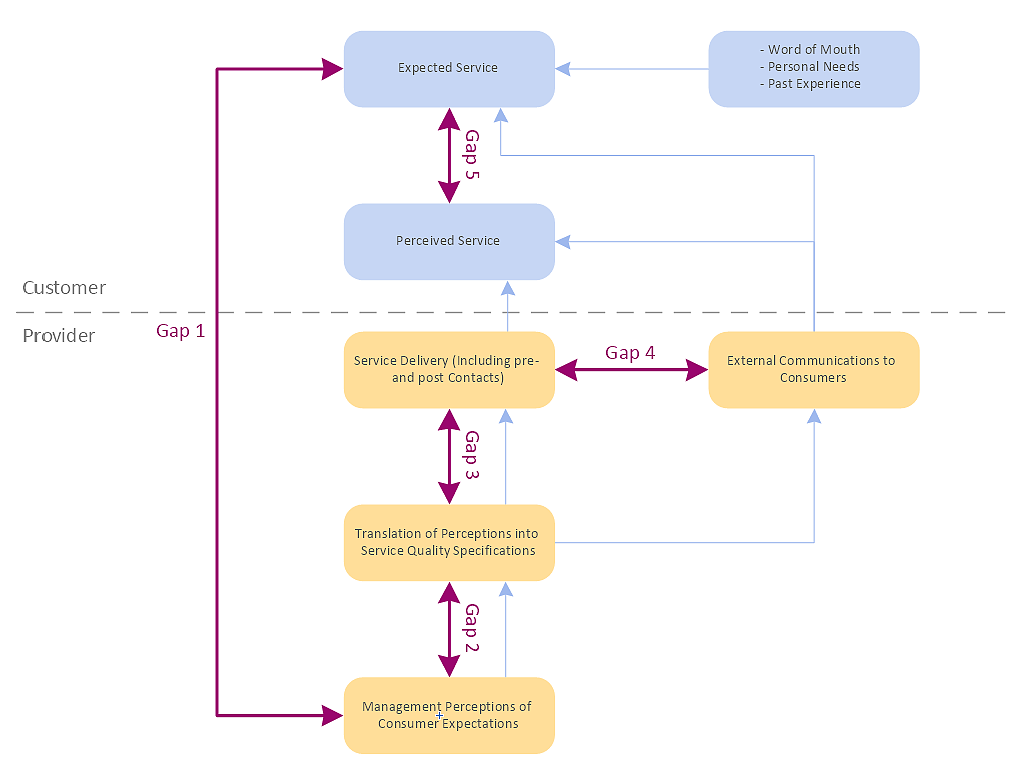
There are many types of diagrams, you can create using ConceptDraw DIAGRAM: network diagrams, organizational charts, flowcharts, workflow diagrams, technical schemes, and building plans. However, there are the same basic steps to start creating almost all of them. Here the tutorial we will show how to create a simple chart using a template, and how to add shapes to your drawing using libraries.
We recommend you to start a ConceptDraw DIAGRAM using the Default Blank Drawing option. It is a blank document containing all the settings that determine the view of your custom start template: the units of measure, the page size and orientation, the drawing scale, and so on.
- Run ConceptDraw DIAGRAM. Select the New option in the File menu and click “Default Blank Drawing”.
- Now you have a workspace and the basic set of libraries.

- You can look for shapes in other libraries by manually opening them from the Solutions pane on the left side of the window. To use the library search function, enter a description or shape name in the search field. Search results are compiled into a new active library.
 <
<
- Add shapes to your drawing using one of the following methods:
• Click on an object and then click on the document.
• Perform a drag-and-drop from the library to your document.
• Double click on an object’s icon in the library.

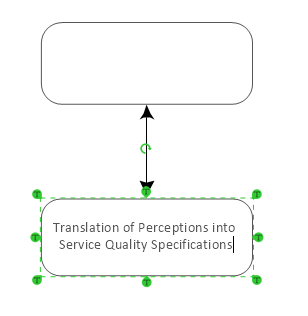
- Connect objects, if needed, using Connectors. Simply choose a proper connector and drag it from the one object to another.

- Add text to objects. Select an object and start typing. When you finish typing, click on a blank area of the drawing page or press ESC.
You can add text even to connector – just select it and type.

Result: Using the easy-to-use tools that offer ConceptDraw DIAGRAM you can create charts and diagrams of any type. Even if you've never used a drawing tool before, it's very easy to start creating high-quality professional graphic documents with ConceptDraw DIAGRAM.

 <
<


 Create Drawing