How to Create a Custom Library
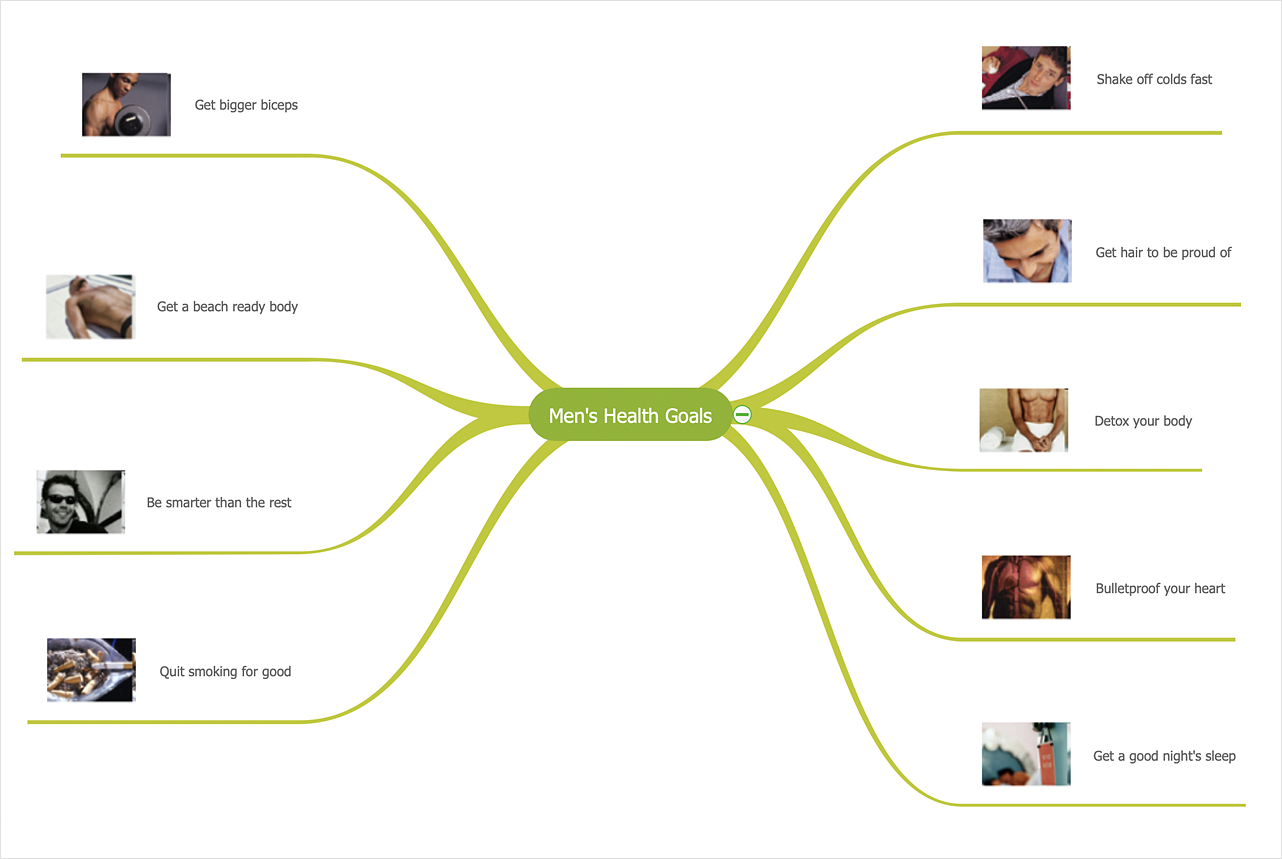
Making a mind map is a creative work, and each mind map depicts the personality of its author. Using custom clip art libraries enables you to create your own author's style. Also, the custom clip art is needed if your mind map often contains the same set of custom images that are not supplied with the standard software package. ConceptDraw MINDMAP allows you to create a custom Clip Art library to increase the visual capacity of your mind maps. If you need to use your own images in ConceptDraw MINDMAP, you can deploy them inside ConceptDraw MINDMAP so that you can use them through the Graphics pane.
- Create a folder to store your images, and save it to the Clip Art folder of ConceptDraw MINDMAP.
- On PC:
C:/Program Files/ConceptDraw Office/ConceptDraw MINDMAP /Clipart
- On Mac:
Open Applications folder. A right-click on the ConceptDraw MINDMAP item will enable you to view the contents using “Show Package Contents”. Then, select: Contents/Local/Clipart

- Save the images that you want to use for your mind maps to a new folder.
- Open ConceptDraw MINDMAP document, and press F4 to activate the Graphics panel.
- Selecting your folder from the drop down list.

- Click an image to insert it into the selected topic.

Result: Now you can create a mind maps supported with images stored in the custom clip art library.

|
How it works:
- More than 900 clip art images and 200 Quick Symbols.
- Intelligent Topics.
- Multiple Main Idea support.
- Fully customizable map style.
Useful Solutions and Products:
- Exchange data with MindManager®, XMind®, FreeMind®, Microsoft® Office®
- Social networking via Twitter®, Facebook®
- Present mind map remotely to participants of Skype® conference call
- Perfect combination of visual mind map and live voice accompaniment
- Compatibility with MindJet Mindmanager®
- Import/Export data from MS Project®
- Integration with Twitter®
- Collaboration via Evernote®
|


 Create Mind Map